Tidal Treasure Clash
Devlog 5: Second week of production!
Programming
Hey! Donan here!
This week I first worked on the attack. Since the input was already handled, i had to figure out a way on how to detect hits. i went with a sphere trace that follows the blade of the weapon or just a sphere trace around the fist. The next thing to tackle was when does this trace need to happen. First i tried it with timing delegates but there is a much easier way, just using anim notifies. So i made 2 custom notifies, one normal one and one notify state. This way i could just add those on the timeline of the animation and i could have the overridden function call some functions. Now i knew in code where the actual attack begun and ended, also where the attack animation ends. Afterwards i made some functions to add damage to the player when hit and add an impulse to the character being hit.
Next thing to do was to kill the player when his health reached 0. I added a delegate that broadcasts on death so that the gamestate also knows a player died. I unpossessed the dead character so that no input can be given anymore and I set the character to not update anymore. Then I teleported the dead character off screen so that it doesn't have to be deleted and can easily be used again for respawning. After that I made sure the player drops everything he's holding before teleporting off screen.
The last thing I did was adjusting the settings of the physical animation and physics asset so that it better reflects the animations and so that the player getting hit is more visible. I saw that it was not fully configured when testing the new character mesh. One thing to note is that every time a new mesh gets imported the physics asset for that mesh will need to be redone.
As for me, the second developer, my work mainly focused on the core game loop elements.
Respawning
After Donan's hard work implementing the death of the player, it wouldn't be fitting to not have a respawn system. It's also kinda important to the whole game loop.
This was not very hard to do just a little time consuming because we wanted to correctly setup the underlying systems for the respawning and have the gamestate, gamemode and character communicate appropriately so that we avoid coupling between them.
All that is left to do for this part is to have the right animations and effects play, but the systems are setup in a way which makes it easy for us to add those things.
Score Counting
Also not a lot to say about this, I simply added a collider on the ship which detects when an object of type treasure enters or leaves the collider. Then it broadcasts a signal which the game state receives and updates the scores accordingly.
Platform
Finally, I also added the platform. What? A simple platform? You may ask. Well it would be simple if the ships where stationary. But we (will) have a rising tide which, unless your ship is the Titanic, will make your ship move up. If the ship moves up the platform also has to move up while also staying attached to the ground. My first idea, and the one I went for, is to attach one end of the platform to the ship and have the rest of it be physics simulated and rotate around that.
To do that, I used the physics constraint component to attach the boat to the platform and offset it so that it rotated around it's own end. This worked but there was an issue where if the platform was parallel it would stay like this:
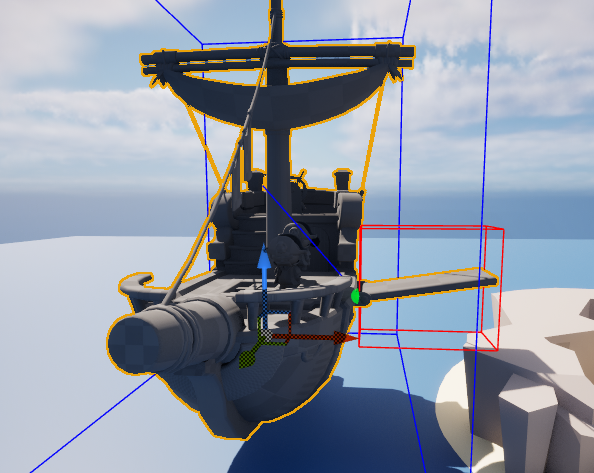
It would eventually come down but it wasn't what we wanted. Since the bridge was physics simulated, I applied a force in the form of an invisible physics simulated cube which only collided with the bridge. This applied a constant downward force and seemed to fix the issue:
This may seem hacky, but unless it causes issues during development or playtesting, there is no real reason to change it.
And with this we have a good portion of the game loop done. We hope to have the rest by next week and get the game to an early playable state where you can have treasure that spawns on its own and you can take it and bring it back to your ship. As well as a moving camera.
Audio
Heya, I'm back to give you updates on the audio progress.
So right off the bat, I spent way to long on the footstep sounds to try to make them work. At first I wanted to raycast and play sounds all through C++ but the timings with the footsteps were a pain. I finally decided to use the animation and notifties. After a couple hours and caffeine running through my veins managed to make them work. On the bright side, the 'whoosh' and hit sound of the player punch were smooth sailing (pun intended). I'm also working on the music to fit them into the game, this will probably be done by next week together with the sounds for some of the other weapons.
See you next week with another update, take care!
Art
Hello everyone! We are finally back again after a long break. Today we're gonna give you a quick update on what been happening over the past few weeks in art-land.
To give a quick overview of what has been worked on, Joshua has been busy modeling the ship and the character and drawing a layout of the level, and Jay has been busy modeling the base version of the level, the chest model and rigging the new character.
Take it away Joshua!
Hi, its me, Joshua. as mentioned above I've been working on some models and coming up with some concepts for the environment and the chest. First of all, as promised I've been working on the boat, and I'm happy to show the final model for the boat!
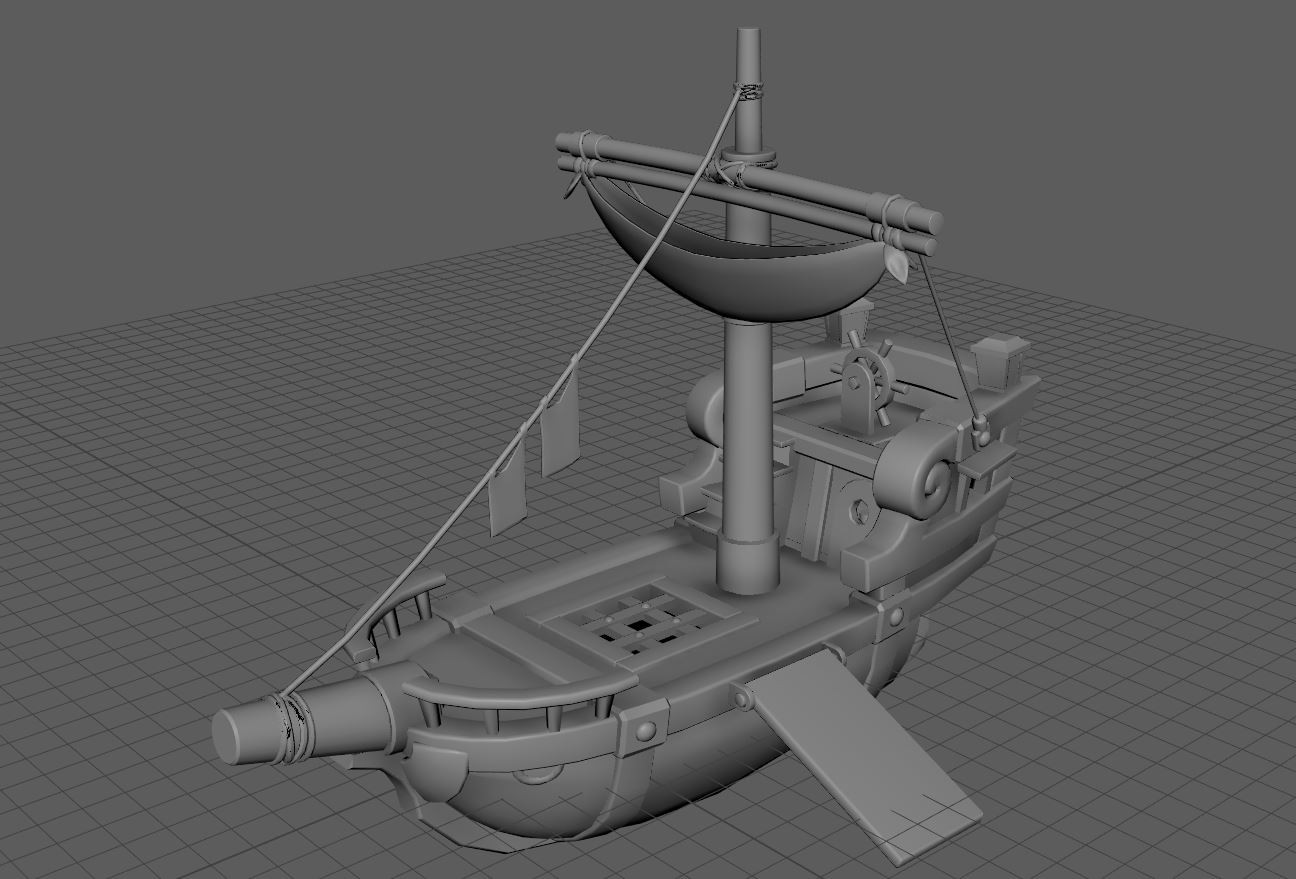
The main challenge for the boat was figuring out the swirl on the side of the boat, I ended up using a Bezier curve that I then used to sweep geometry around it after that I had to fix the ends of the sweeped curve which was quite time consuming. Once I got all the details proportions, everything was quite straight forward after that. All that was left to do is bevel the hard edges and softened the beveled edges to give it a softer shape language.
Character
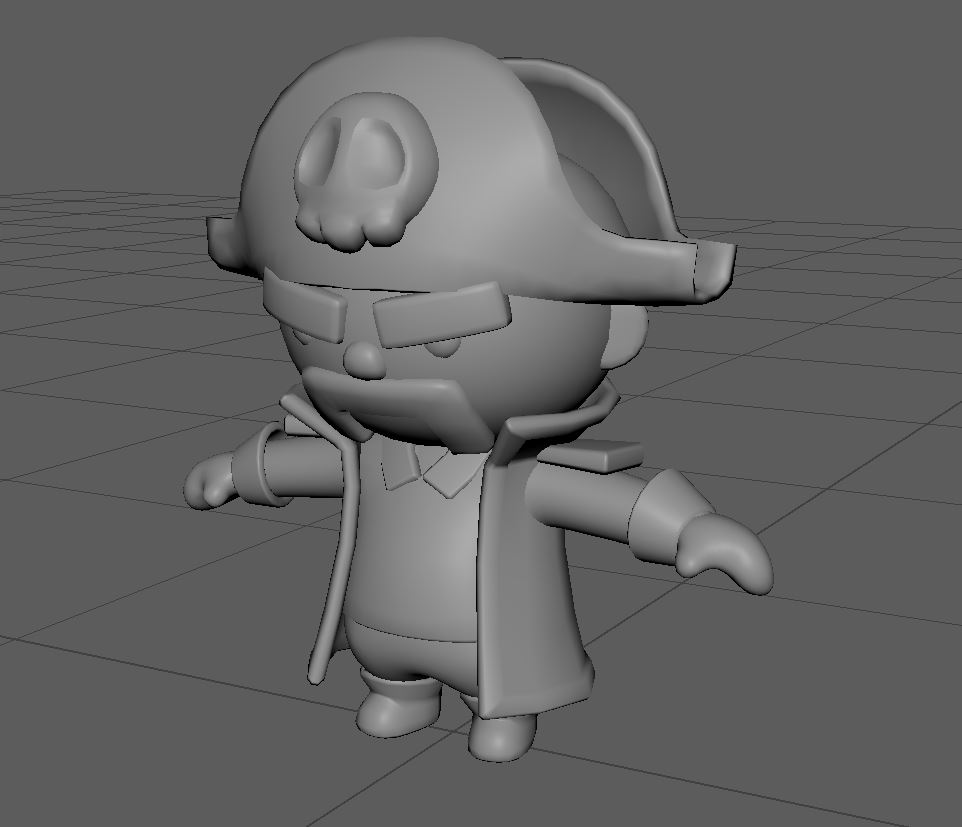
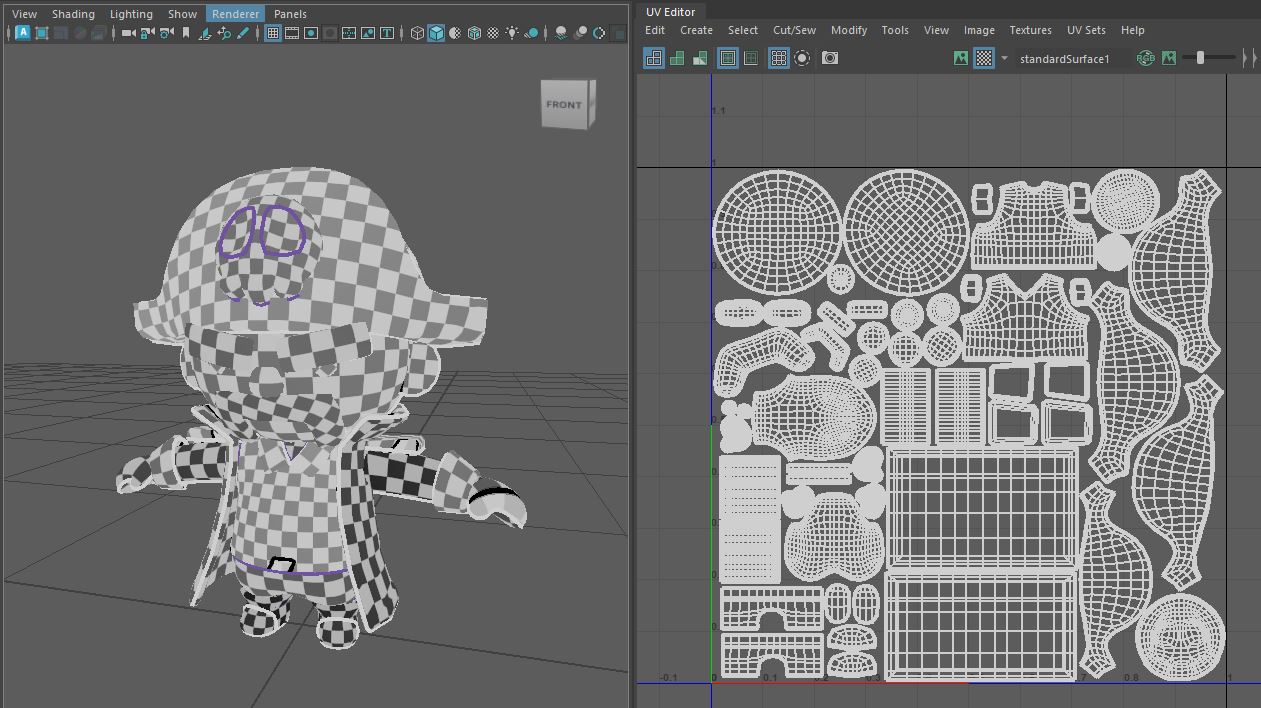
After working on the boat I started working on the male character model. I used the concept art I drew for the Artbible for my reference, I also used a base model to quickly get the proportions right.

I started out completely from scratch since the mesh of the base model could've been improved geometry wise and proportion wise. I re-meshed the base mesh with the quad draw tool which is basically making a new model with the same shape of the model but with different geometry. Unfortunately, while working on the character my file got corrupted after using smoothing sculpt tool in Maya. Bit outrages that a Maya tool is unstable but besides that, its always good to have backup. I ended up finishing the model, this is the final result.
after finishing up the model it was time to move on to unwrapping. When you want to texture a model you have to unwrap your model. Unwrapping is like unfolding a cardboard box. when unwrapping a model you have to keep in mind that the UV island are straight, that the scaling of the UV's are the same and that there are no overlapping UV's. Here's the UV map.
Concepting and Level Design
Treasure Chest
now moving on the concepts I first quickly sketched out a couple of concepts for the treasure chest.
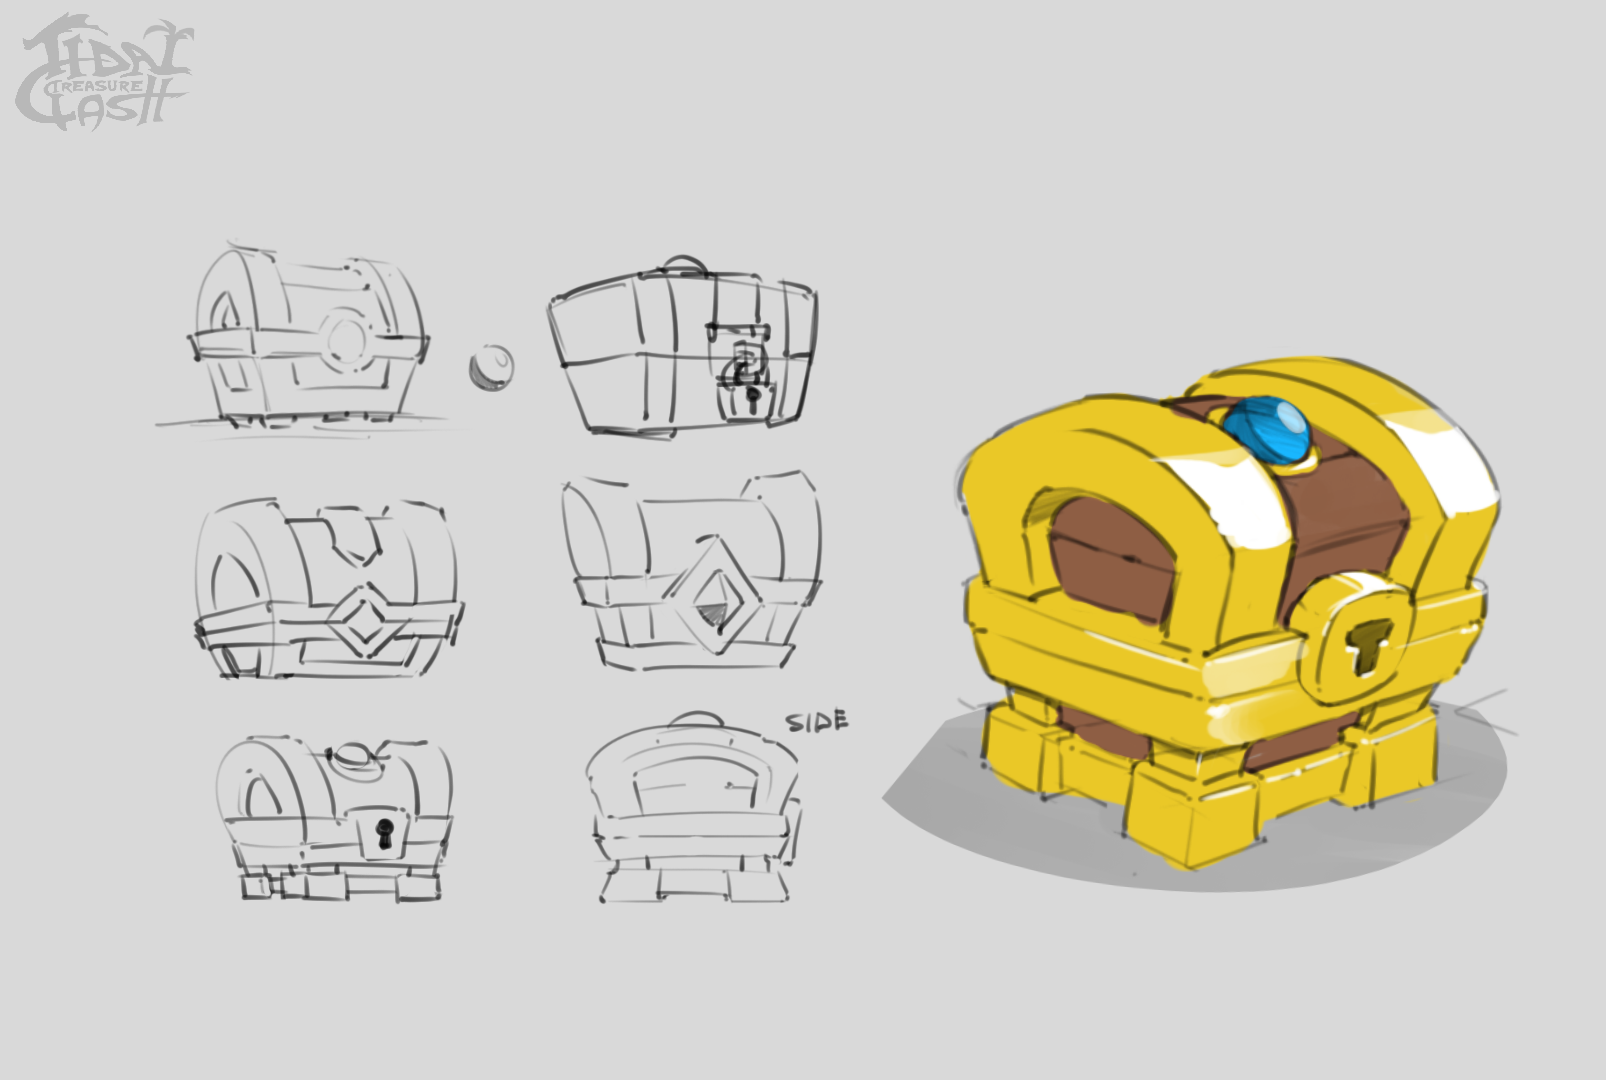
The main thing I wanted to add to the chest is a gem that indicates that it has some type of relation to the water level rising. I also felt like the initial concept for the chest was a bit mundane, so I came up with a new concept to make it stand out more than most interactable assets since its part of the main objective of the game.
Level Design
Next up was coming up with a new level layout that is fun to play. Jay and I initially started thinking about what we have to keep in mind when it comes to creating our level. We came up with 2 core components for our level.
- The playing field has to be even on both sides of the island to avoid obvious advantages for either sides.
- There has to be enough height variation so that every time the water rises, the level changes overtime. This keeps the playing field interesting.
Thereafter we started thinking about some initial concepts. For that we used the earth for some inspiration, we used Google Earth to find some archipelagos. Here are some early concepts. 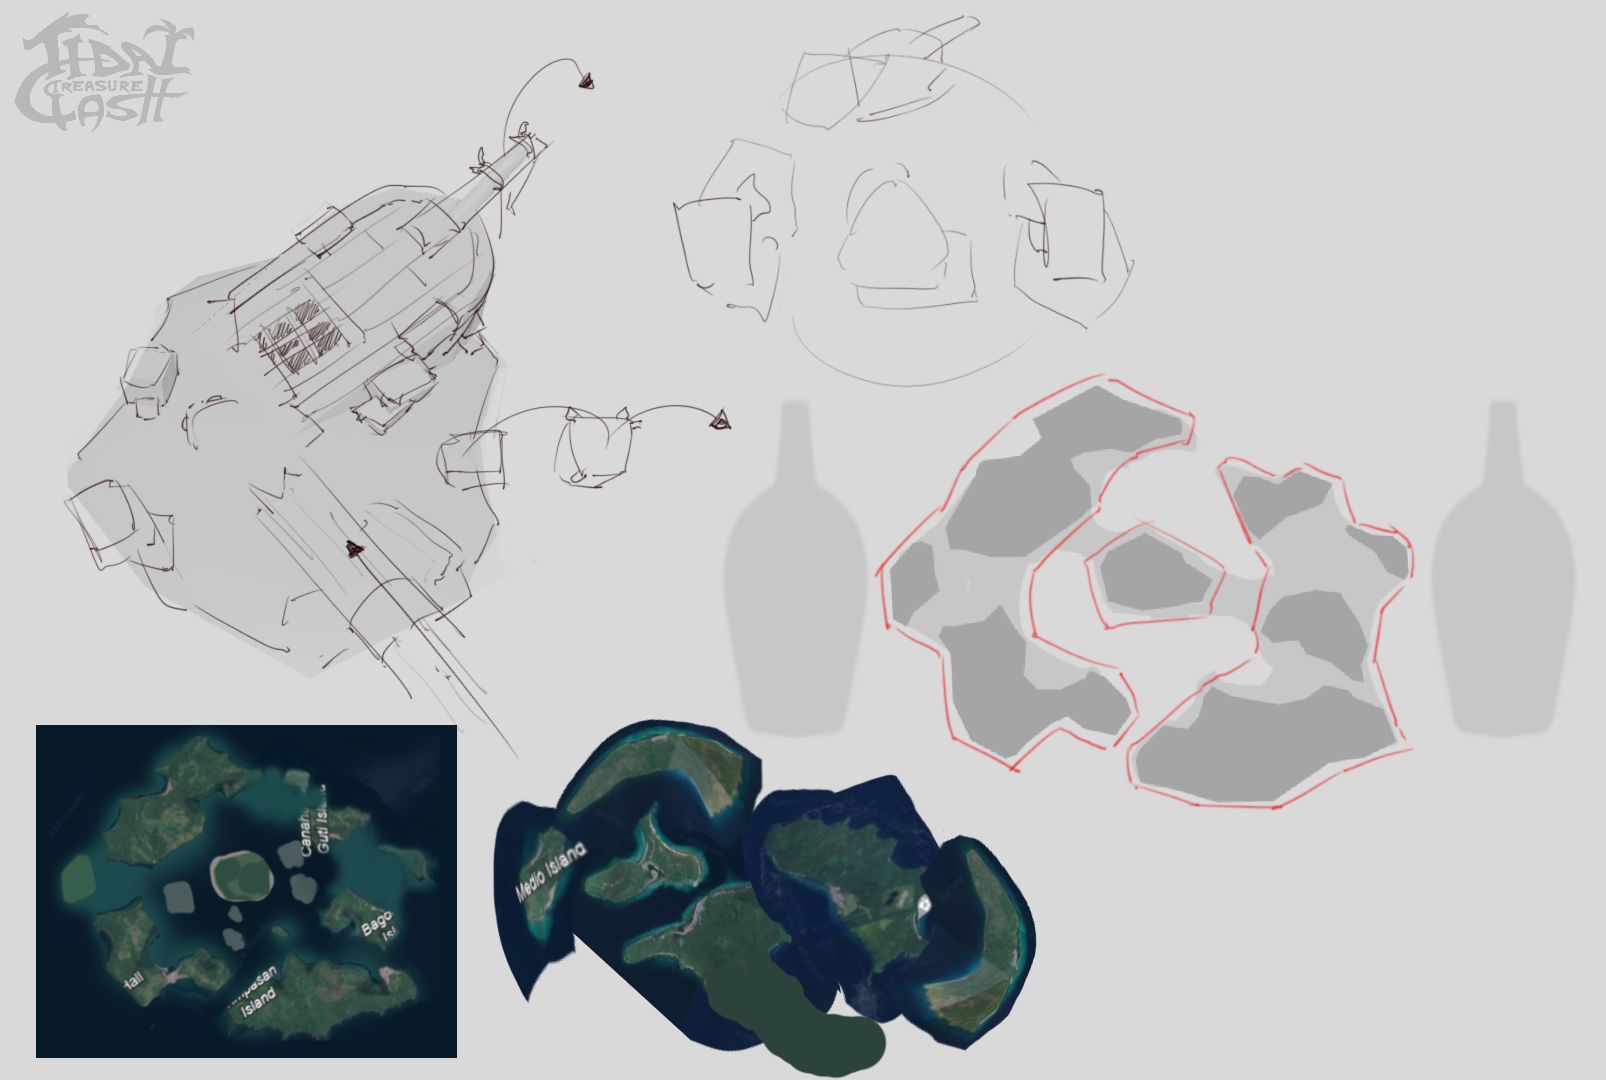
We then further developed the layout that we wanted to go trough with and added some height variation. This is what I came up with. 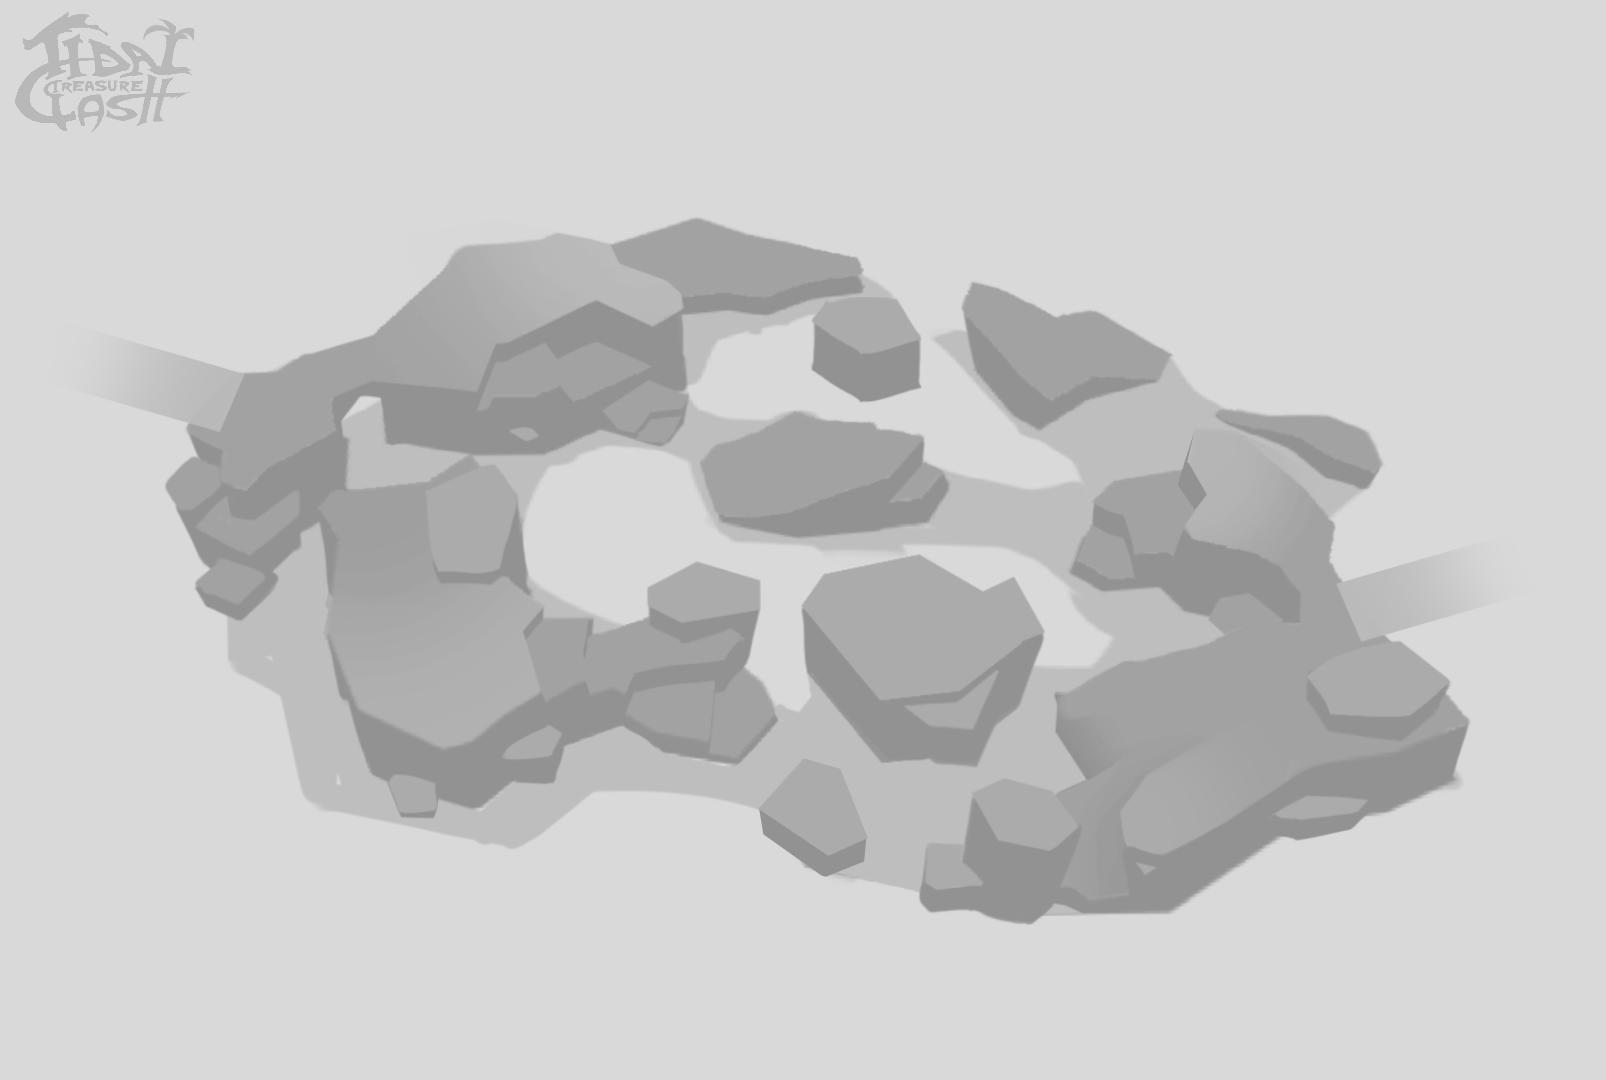
Safe to say that there still has be some iterations to be made to make the height variation more interesting. Currently, the level looks too flat mostly because we are limited to the height that is between the plank and the ground which is really small (around 1.5m). Were still going trough with a layout we have for now so we can have a functioning game loop.
That's all for me, next week ill be delving more into the level design. I'm also going to start working on the lightning RFX that will be used in the storm event that Alex worked on.
Now back to Jay, he's been working on the island concept I showed you earlier.
Hey once again! Jay here. I'm here to show you some of the stuff I've been working on.
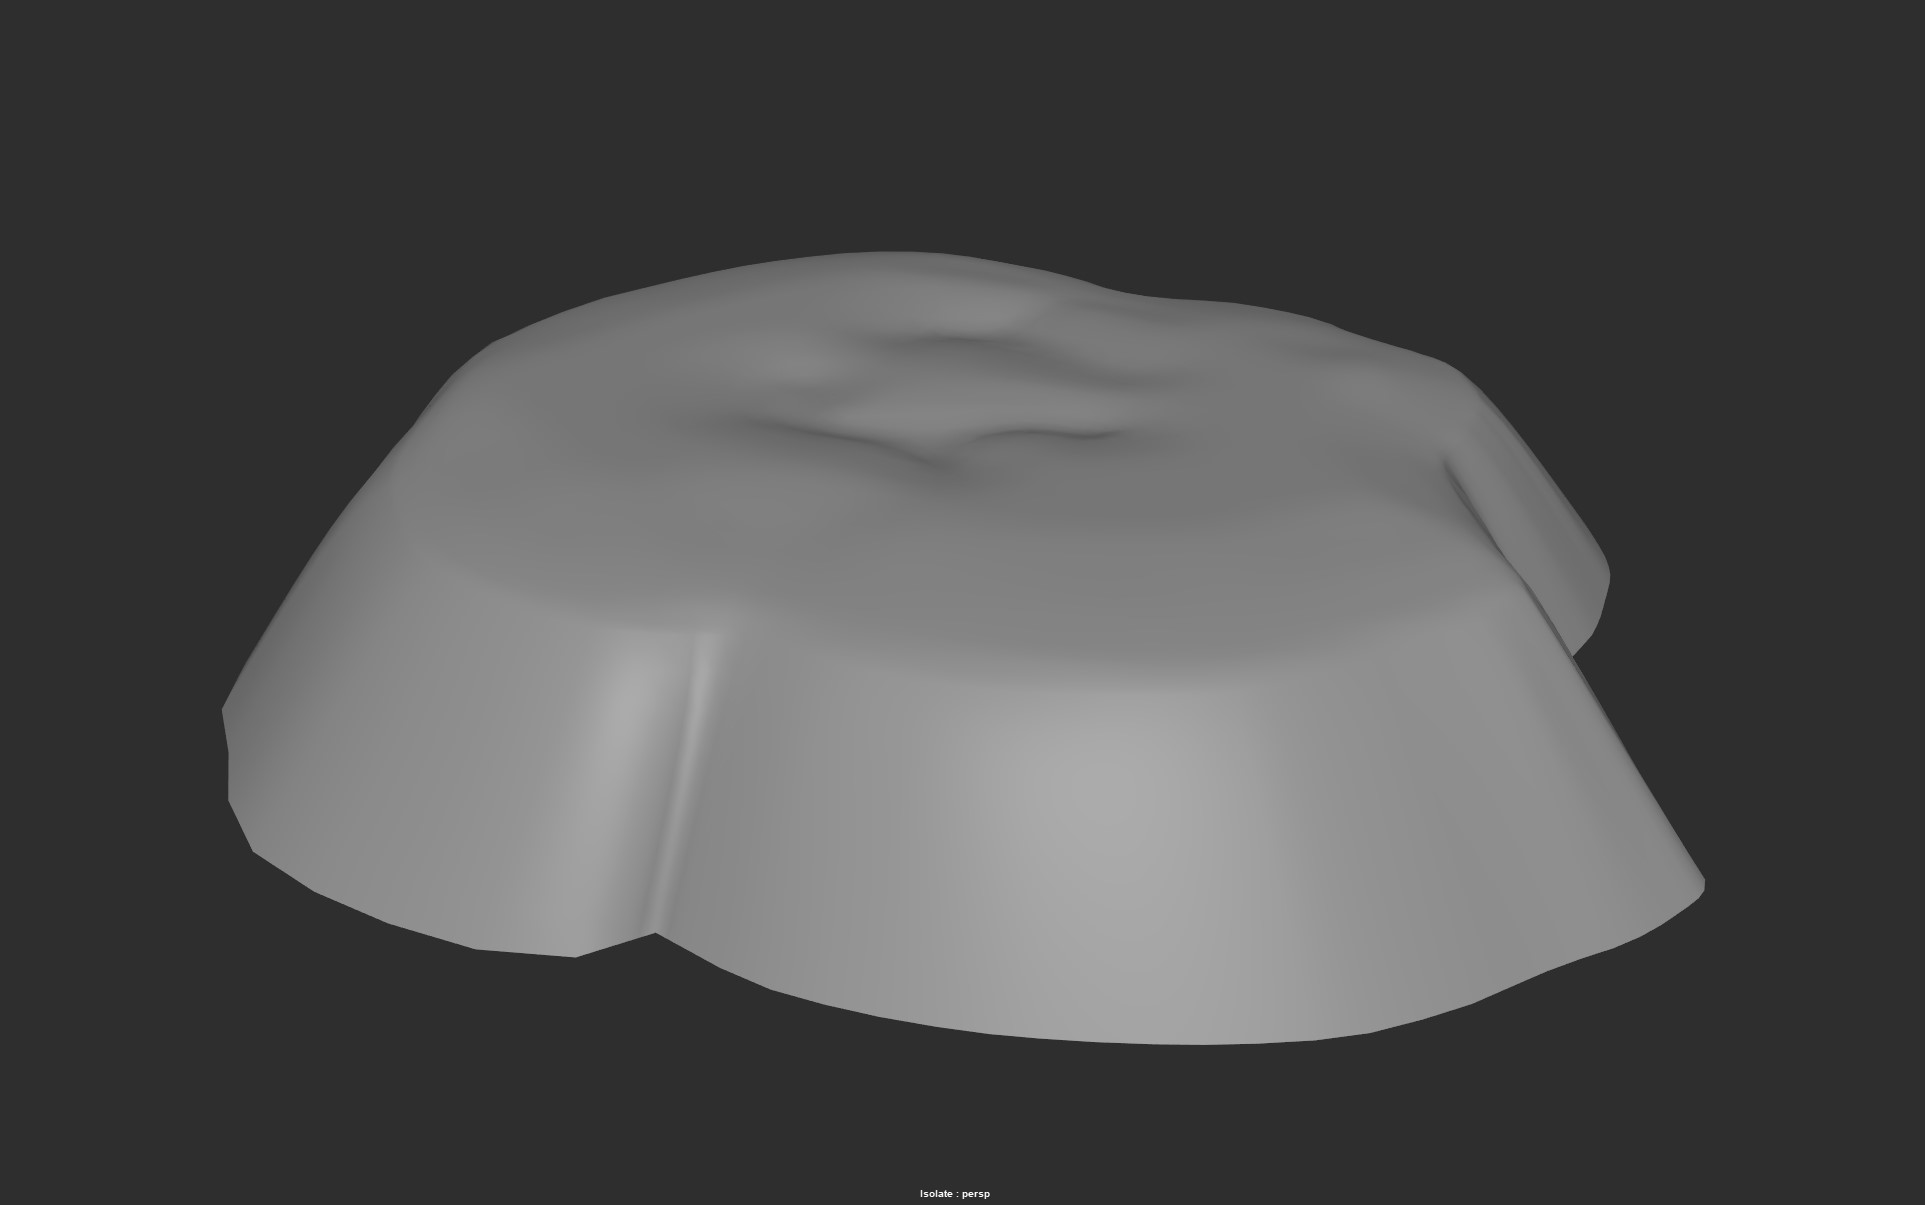
Let's start of with the environment. At the start of the week I was asked by one of our developers to create the level so they can more easily test the game loop and the features they have been working on. I started by taking the concept Joshua made and quicky drawing some topology on top of it, after which I subdivided it and gave it some depth. While the process was really simple it took quite a bit of time to fix intersecting geometry around the edges of the island.
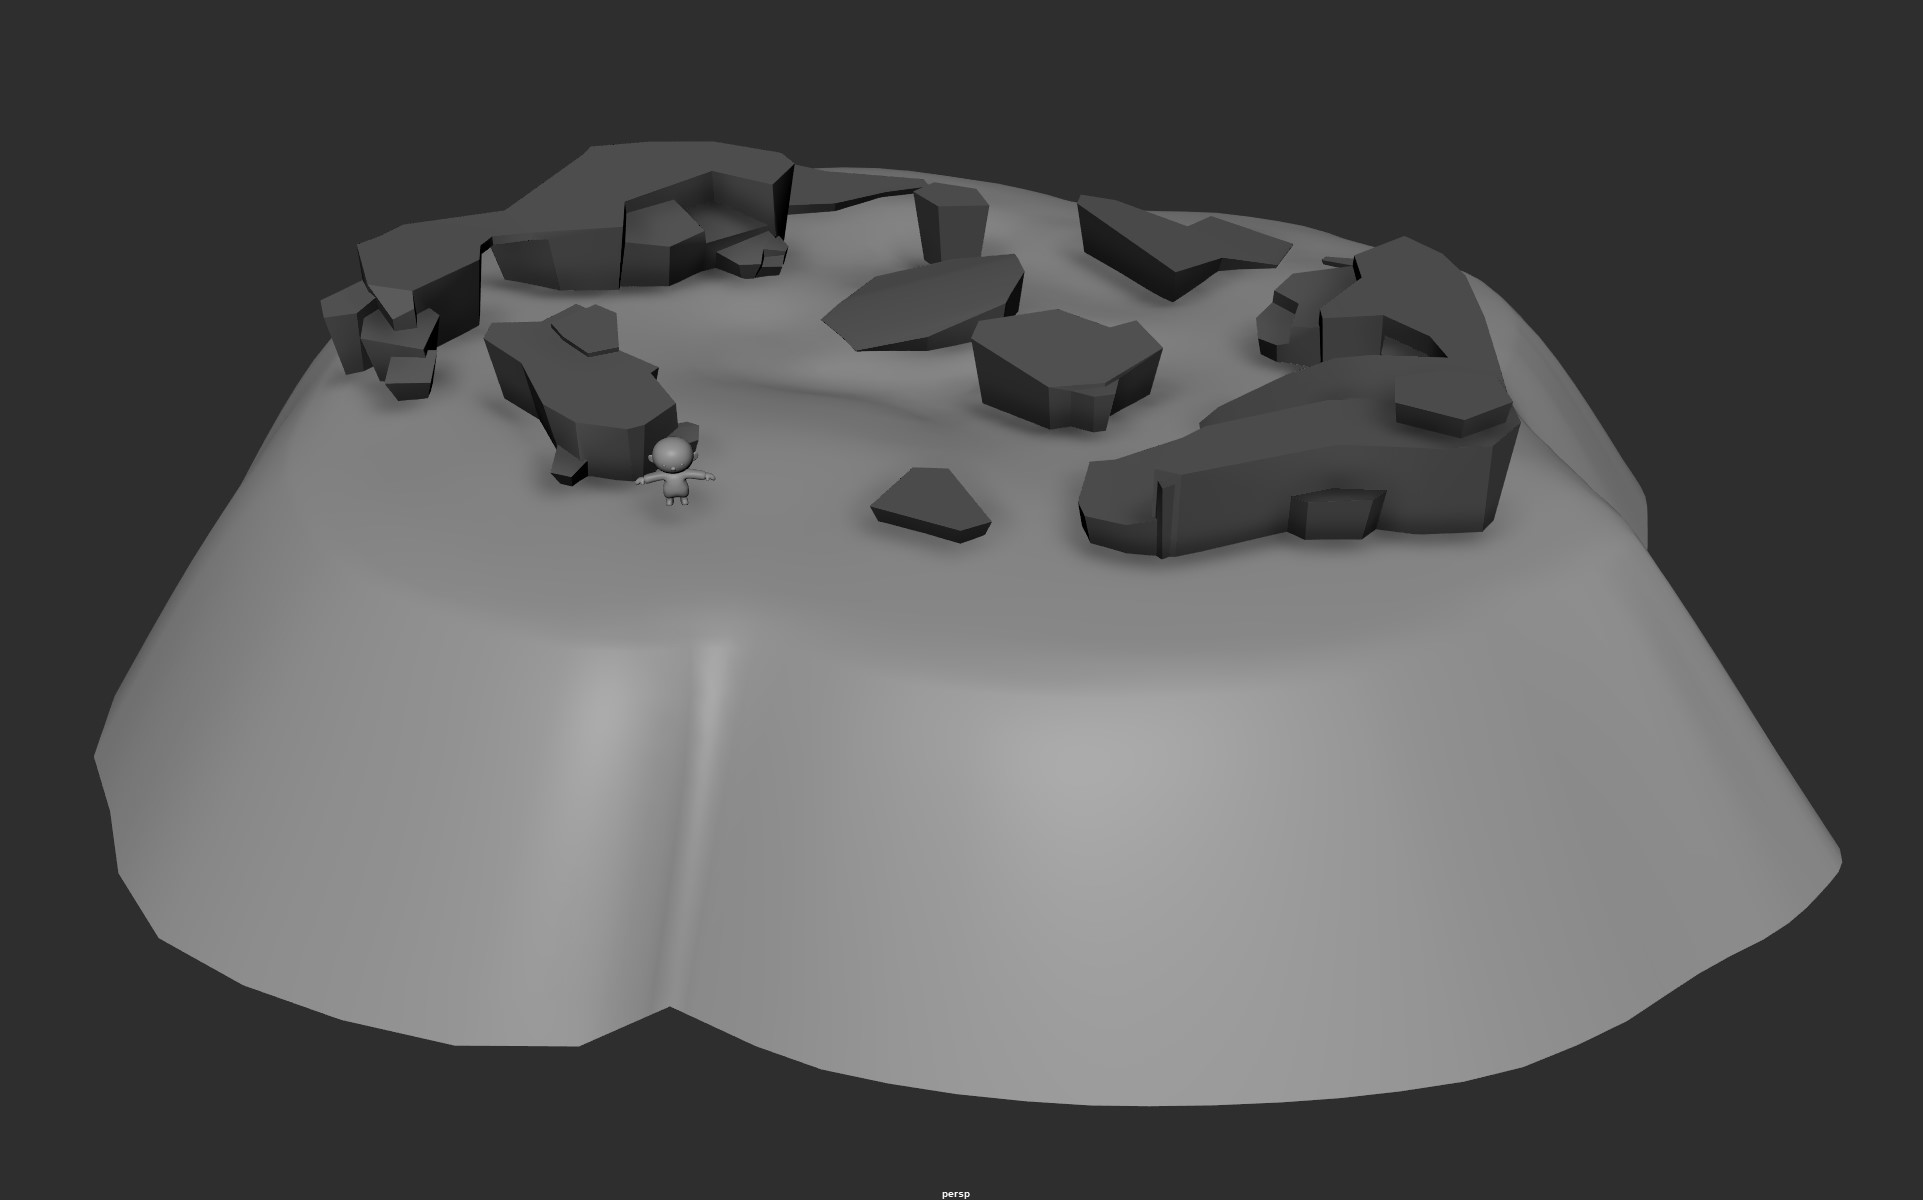
I then moved on to blocking out the cliff formations. I traced their shapes by using flat planes and then extruding them upwards. This quickly gave me good result to work further off of. While the form were already good (mostly thanks to Joshua's amazing concept) their ended up looking rather flat. So I selected the bigger faces and tilted them in some direction. This give it that nice and janky look. Finally I selected every bottom edge and moved it inward to give the shape this tapered look present in all our current assets. This is what I ended up with.
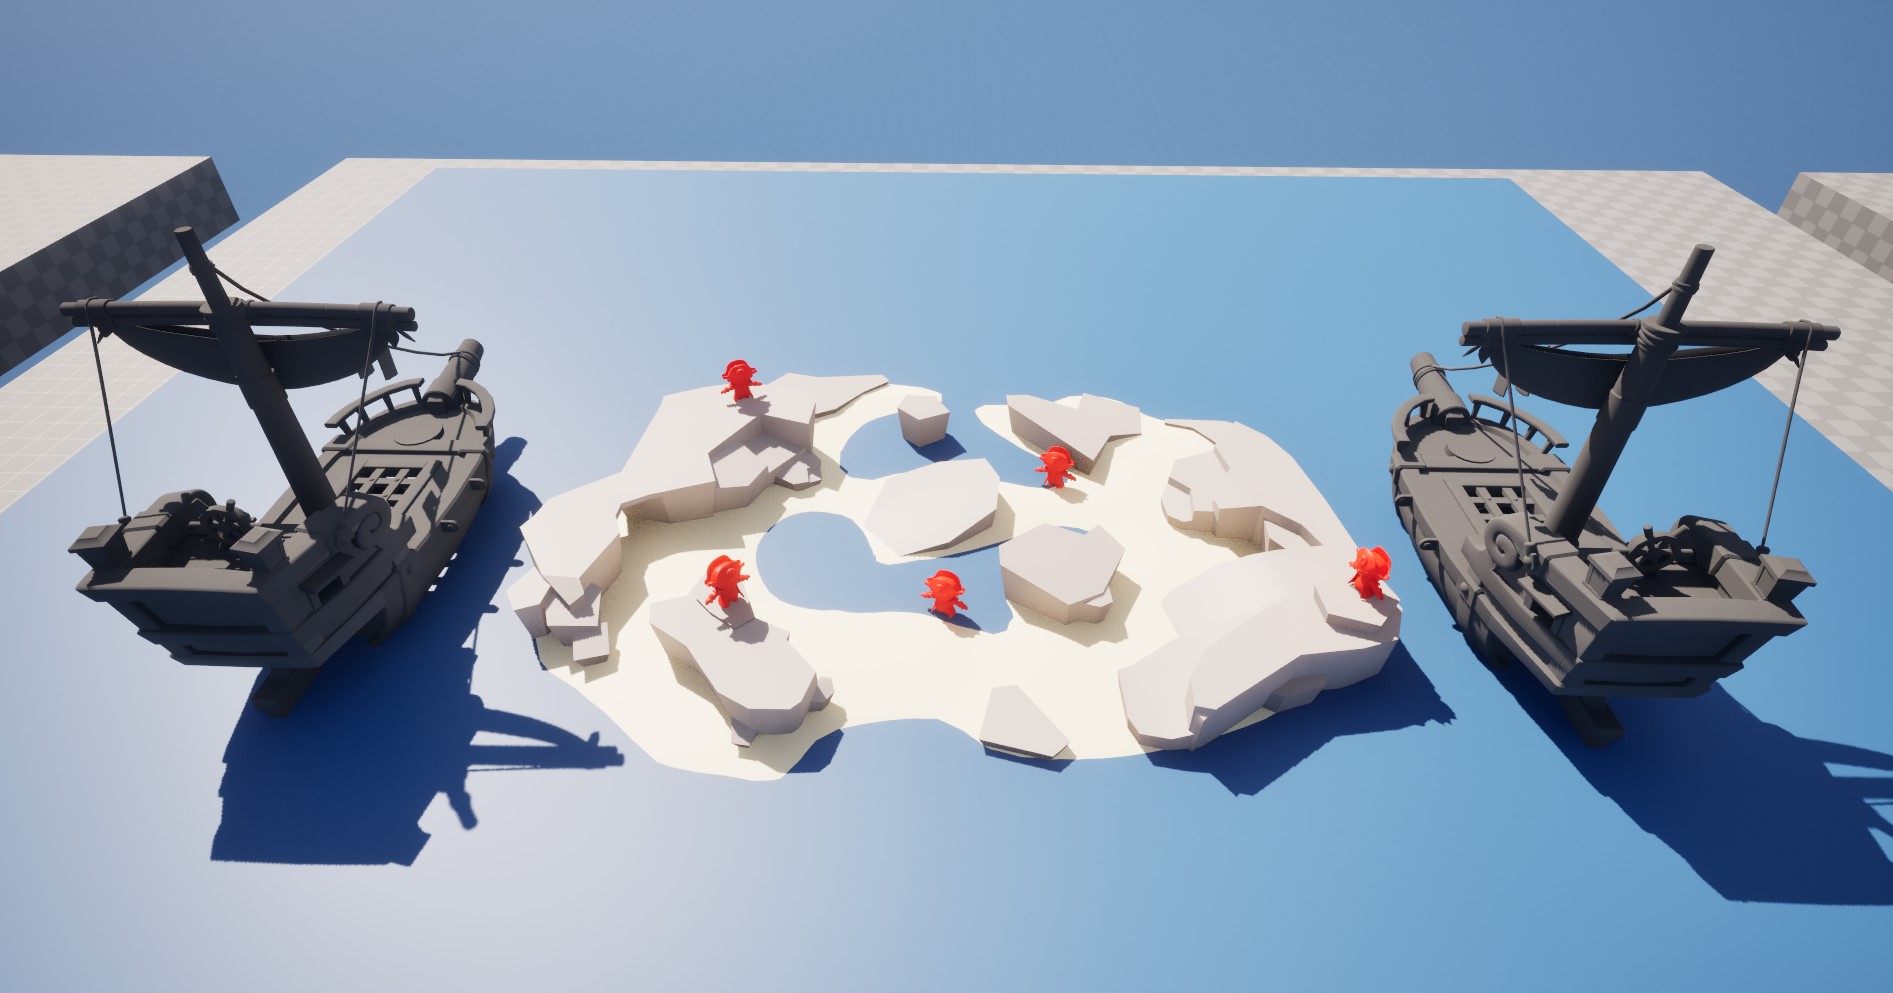
When the environment was mostly done it was time to import it into the engine and give it a quick test to see if all would work fine. It was only after I did this we realized the curent layout isn't really effective as we're quite limited in how high the sea can rise. At some point the Island would just disappear. So unfortunately, at some point we're going to have to redo some work, but for now this is a good base that we can use to test.
After my work on the environment was done (for now) I moved onto the character. Joshua had prepared the beautiful pirate character to be rigged, so that is what I did. Luckily this process was rather quick as I just had to take the skeleton of the previous player model and rebind it to the new one. Doing so I ran into some issues with the Jacket he's wearing, but after some manual weight painting I managed to resolve the clipping issues. He's now fully functional and implemented in game (apart from the texture, that'll come at a later date).
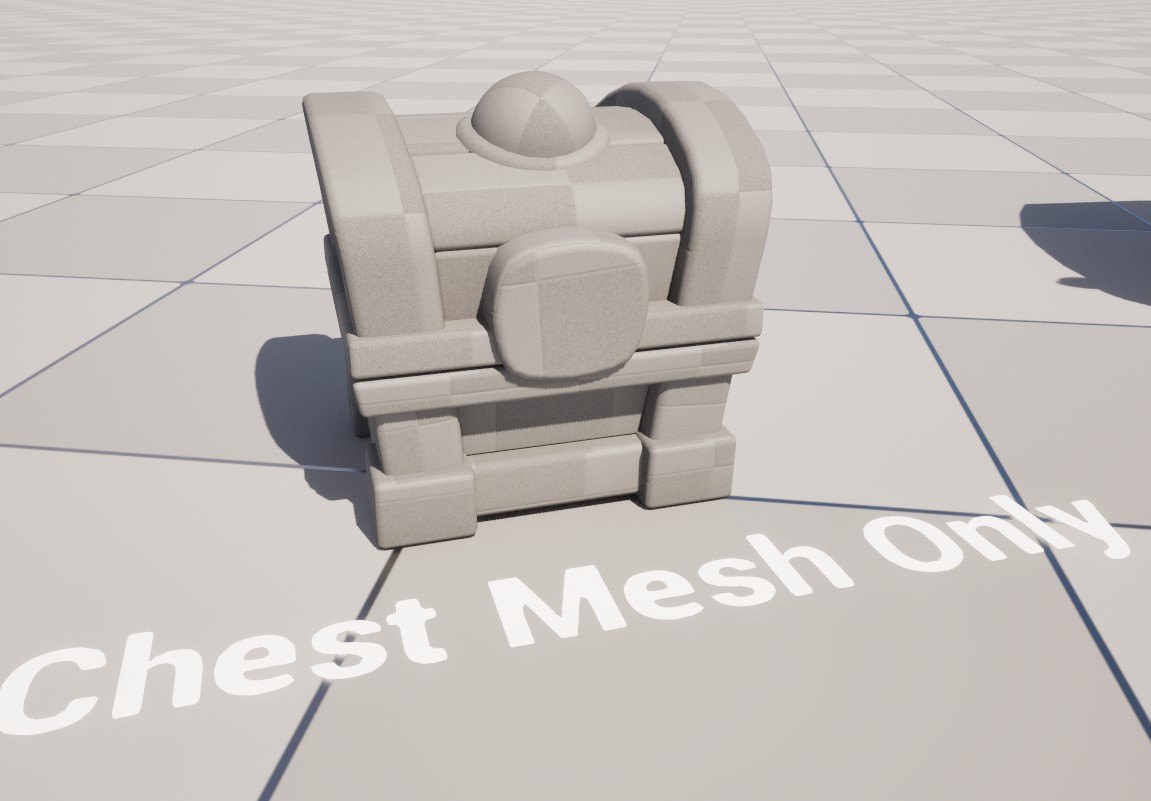
Finally I decided to end my work by modeling something small. Once again Joshua prepared an amazing concept for the treasure chest so I took that into Maya and started working. I blockout out the basic shape, then refined it, give it a quick UV pass and implemented it in the engine to be used at a later date. You might notice none of our assets have textures yet. Don't be alarmed, this is all done on purpose. Eventually we're going to create a trimsheet which is essentially just a collection of different materials on one texture and use that for most of our assets.
Thank you all for reading, and we hope to see you again next week where we will once again be giving you an update on the progress of our game!
Leave a comment
Log in with itch.io to leave a comment.